Vascello Fantasma - Pera del Ferro

 1 / 17
 Matteo Bedendo / Lorenzo Casolini


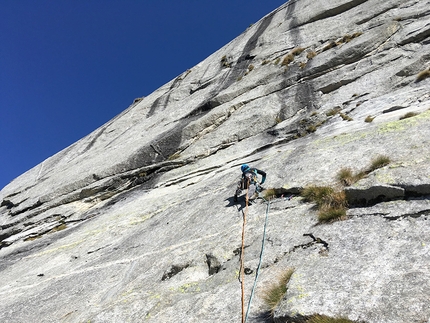
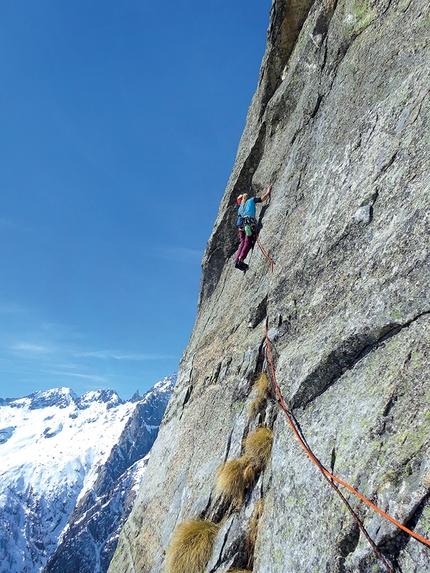
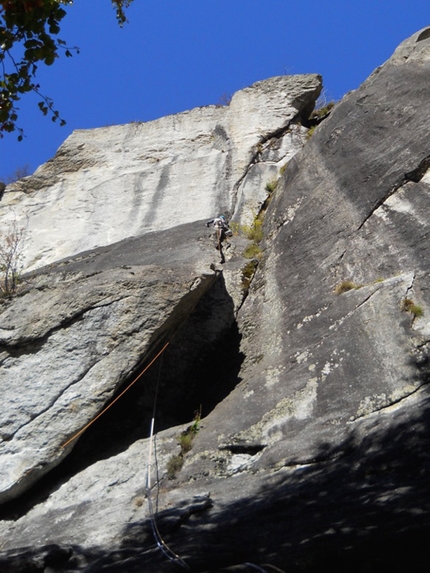
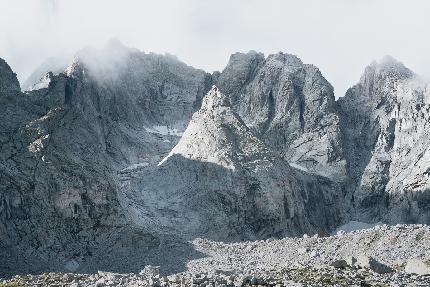
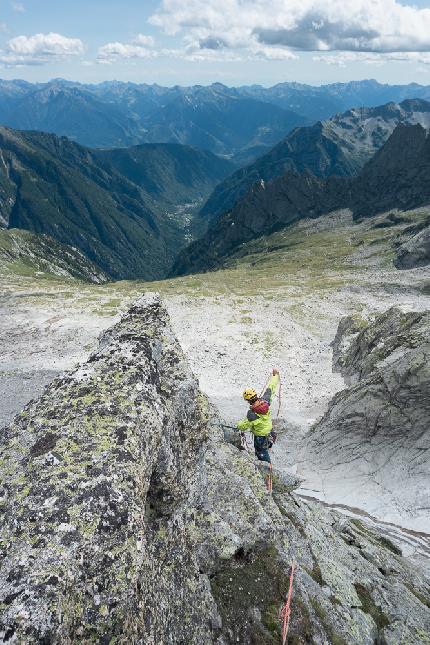
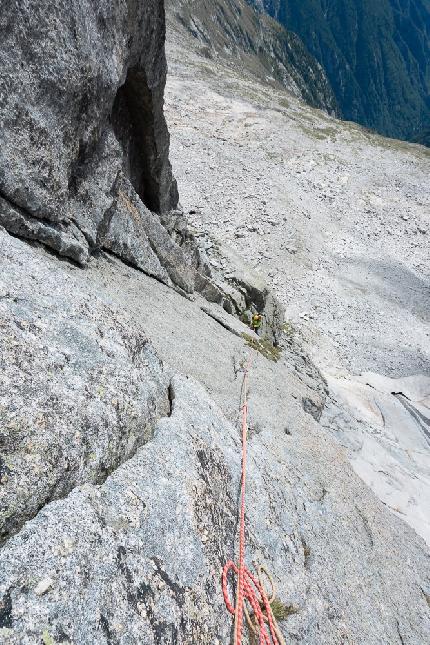
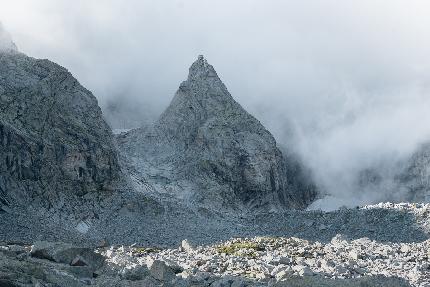
Vascello Fantasma in Valle del Ferro climbs up an excellent quality rock face in a particularly remote and evocative corner of Val Masino, despite being clearly visible from the valley floor (and even from the San Martino webcam!).
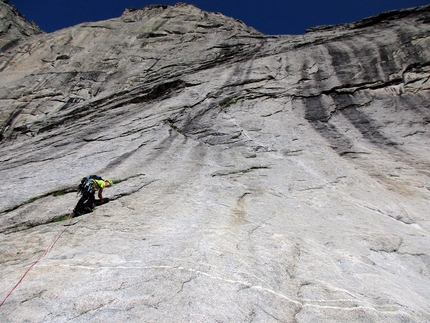
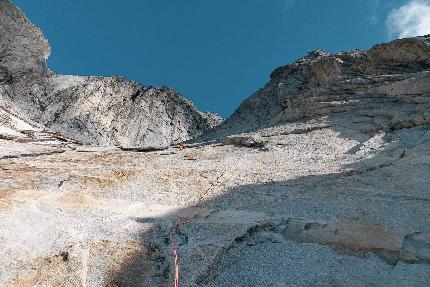
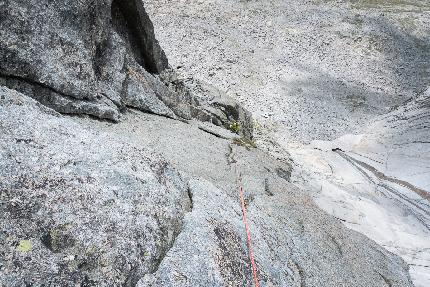
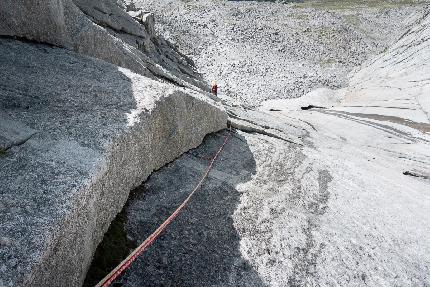
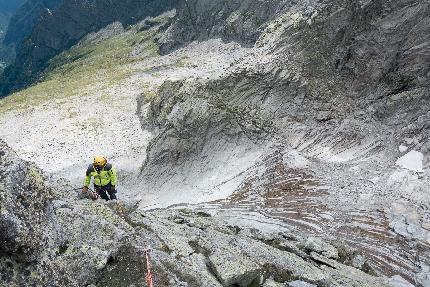
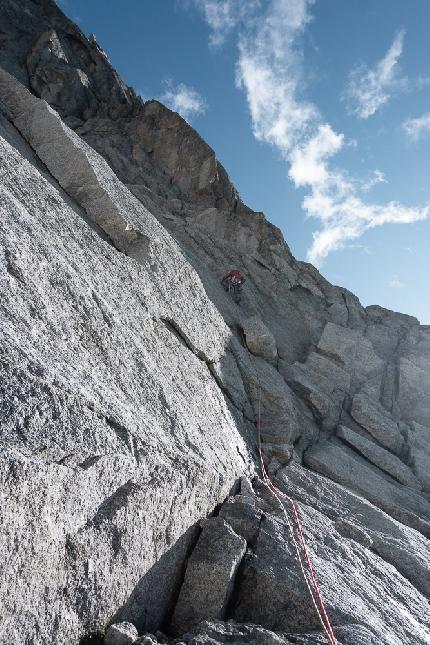
The route ascends the compact south-west face of Pera and gradually steepens as it ascends enormous slabs, seeking the most logical and protectable line throughout. It is therefore to be considered a "modern" route, but certainly not an alpine sport climb: only three bolts were placed on the nine pitches; almost all the initially peg-protected belays have been replaced by a single bolt with an abseil ring. The first pitches climb the aforementioned splendid smooth slabs which until a few decades ago were covered by a glacier.
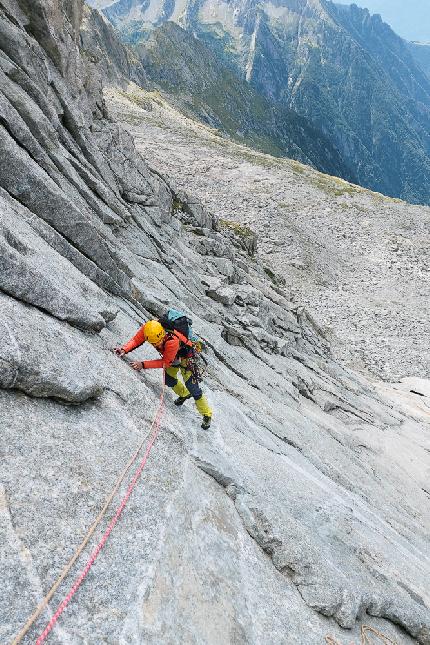
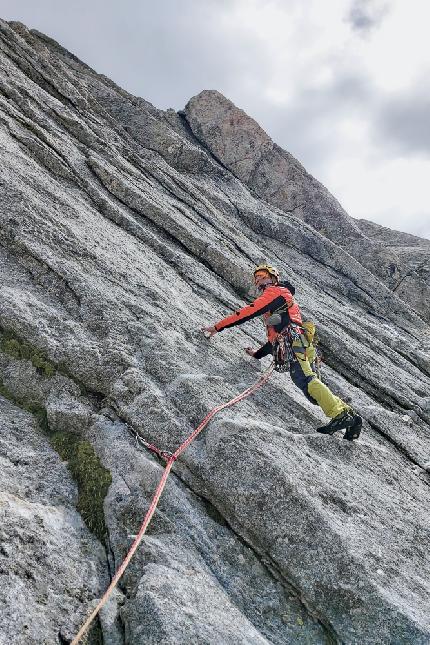
This route is recommended for those who love climbing in remote and forgotten places in the high mountains, with a penchant for quality rock and excellent climbing. The difficulties are not continues and the crux sections are relatively short, so we do not recommend it for pure sport climbers and those keen on physical feats.
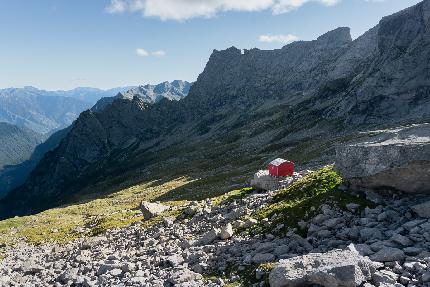
The proximity of the Molteni-Valsecchi bivouac and its location in the Ferro valley make it relatively 'quick' for a route located above 3000 metres. Having said that, it is still located in the upper Val Masino, so a bit of effort is necessary!
From Milan take the SS36 towards Sondrio-Tirano. At Ardenno (after Morbegno), turn off the main road and follow signs for Val Masino. From here, a typical mountain road with steep curves and tight hairpin bends leads to San Martino in 15 minutes. This is the starting point for Val di Mello.
AccessFrom just before the Val di Mello car park, take the path that ascends into Val del Ferro and reach the Molteni-Valsecchi bivouac. From the Molteni-Valsecchi bivouac, walk past the junction with the Roma path and proceed straight up across scree (not particularly terrible) to reach the base of Pera. A few cairns indicate the way up to very obvious slabs that descend on the left (snowfield until late in the season). The route starts on the right edge of the enormous slab (cairn and label at the base) directly below the vague corner where it is possible to protect yourself after a dozen meters (at the start of the season this pitch is probably partly covered in snow). (0.50 hours from the bivouac, 360D+).
ItineraryP1: Climb the wonderful and easy smooth orange slabs up to the very obvious large ledge that splits them. Belay on the ledge on the right (bolt with maillon rapide). III+ 50m
P2: Ascend to the right (do not go straight up the corner above the belay), then continue left along a second corner. Establish a belay where it suits you best in a comfortable niche. IV 25m
P3: Continue diagonally to the left, negotiating easy corners and flakes: ascend the third corner, breach this and where this runs out, exit right (bolt with maillon rapide). IV 30m.
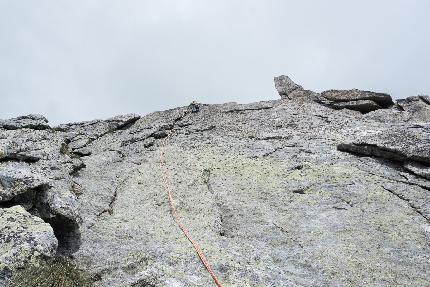
P4: Climb slightly diagonally leftwards, protecting yourself where possible: a long slab follows (bolt visible from the belay but very far away). A delicate move awaits close to the single bolt, then continue slightly more easily to the belay to the left of a corner (belay on a single bolt without ring: this is therefore the second bolt on this pitch). 6a/6a+ 30m (1 bolt).
P5: Breach the overlap by climbing horizontally rightwards, aiming for the first cracks that accept pro visible about ten meters above (unprotected section but on a rough and weathered slab). Climb up the corner and crack, then exit and head to the logical corner by climbing diagonally rightwards. The corner appears to be the easiest and most logical way past this section of the wall. Place gear at the base of the corner, then ascend this (hardest move at the start). Belay on a bolt with a abseil ring a few meters above the top of the corner. VI- 35m.
P6: From the belay climb rightward to the arete, do not go beyond it but instead climb up the vague corner hidden between the two faces of the wall, on good holds. Reach the splendid cracked slab that runs alongside the gigantic corner, follow this leftwardsto reach the belay (bolt with abseil ring). IV 50m
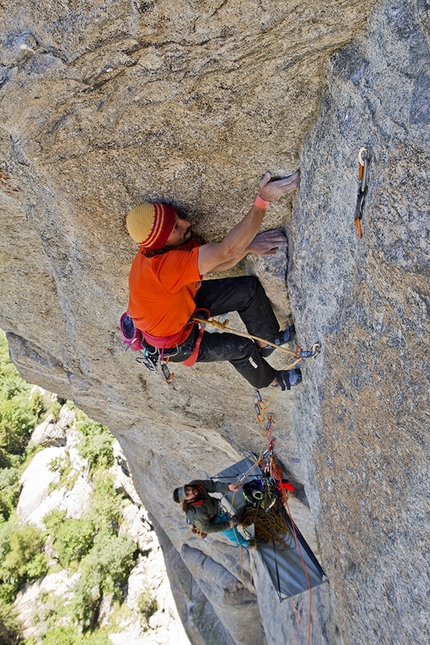
P7: Climb past the overhang. To the right of the belay (protect yourself in the crack at the base), climb past tiring and precarious moves to reach the vein that cuts through the wall. Bolt immediately after this move. From here exit more easily to the right, and climb past the easier overlap (bolt above). Continue easily until you reach a grassy niche, belay here (bolt). 6b, 25m, 2 bolts.
P8: Climb up the beautiful flakes and cracks for about thirty meters to reach the obvious final step, crossed by some corners and cracks. Belay on the right at the base of a splendid slab (bolt with abseil ring). III+ 30m.
P9: Climb the first vague corner/flake entirely (the one furthest to the right); at the end of the crack continue straight up to reach the final belay, directly above (bolt with abseil ring). IV+ 45m.
P10: From the final belay climb up blocks and ridges to the "stalk" of the pear, about thirty metres above, and belay on threads at the base; down climb from here, belaying each other on the final belay (III max).
Descent5 very long abseils. From belay 9 to belay 8. From belay 8 to belya 6 (at the base of the overhang of the crux pitch). From belay 6 to belay 5 (descend directly almost vertically, do not descend down the slab: the next belay quickly comes into view). From belay 5 to belay 3 (also in this case descend vertically - ignoring the corner and the ascent route). From belay 3 to belay 1, then down to the ground.
GearA complete set of cams (micro and BD4 not essential), some small nuts, long quickdraws. 2 x 60 meter ropes essential for abseiling. Hammer and pegs useful but not essential (on at least three occasions along the pitches we placed them and subsequently removed them).
NotesThe "Pera" seems to have been climbed in the past by Ivan Guerini from the south, via the easiest and most logical route on this face - to the right of the route described here.
 Comments


Show more in Masino - Bregaglia


 Copia link
 Matteo Bedendo, Lorenzo Casolini

 See all photos
